Removing wallpaper can be a challenging and time-consuming job, but with the right techniques and tools it becomes a lot easier! In this blog post you can read how to remove old wallpaper layers efficiently and safely. We give you a comprehensive step-by-step guide and share the best tips to make the process go more smoothly. Let's start!
Step 1: Preparation
Before you start removing the wallpaper, it's important to prepare your workspace. Follow these steps to ensure you can work safely and efficiently:
-
Turn off the electricity: Turn off the power to the room where you will be removing the wallpaper. This prevents possible electric shock when working near electrical outlets and light switches.
-
Remove furniture and accessories: Remove all furniture, curtains and decorations from the room. This way you prevent damage and you have sufficient space to move while working.
-
Protect the floor: Place a plaster runner, tarpaulin or old sheets on the floor to protect it against damage and moisture.
-
Gather your materials: Make sure you have all the necessary materials on hand. This includes a putty knife, wallpaper hole punch, sponge, bucket, water, soap and possibly a wallpaper stripper.
Step 2: Determine the type of wallpaper
The next step is to determine the type of wallpaper you are going to remove. There are three main types of wallpaper: non-woven wallpaper, paper wallpaper and vinyl wallpaper. The method you use to remove the wallpaper depends on the type of wallpaper.
-
Non-woven wallpaper: This type of wallpaper is relatively easy to remove. You can usually peel off the top layer dry, after which you can wipe the bottom layer with soap and water.
-
Paper wallpaper: This type of wallpaper is usually more difficult to remove. You will first have to punch the wallpaper with a wallpaper punch to allow the water and soap to penetrate properly.
-
Vinyl wallpaper: Vinyl wallpaper has a waterproof top layer, so you must first remove this layer before you can moisten the bottom layer.
Step 3: Remove wallpaper
Now that you know which type of wallpaper you're going to remove, it's time to get started. Below are the steps for removing each type of wallpaper:
- Remove non-woven wallpaper:
a. Dry peel off the top layer of the wallpaper. Start in a corner and carefully peel off the layer.
b. Mix soap and water in a bucket and moisten the base layer with a sponge.
c . Allow the water to work for a while and then remove the underlay with a putty knife
- Remove paper wallpaper:
a. Use a wallpaper hole punch to punch the wallpaper. This ensures that water and soap can penetrate better.
b. Make a solution with soap and water in a bucket. Moisten the wallpaper with a sponge.
c. Let the water and soap soak in and then remove the wallpaper with a putty knife.
-
Remove vinyl wallpaper:
a. First remove the waterproof top layer. Peel the wallpaper from one corner and carefully peel it off the wall.
b. Use a wallpaper hole punch to punch the underlay.
c. Make a solution with soap and water and moisten the underlay with a sponge.
d. Let the water and soap soak in and then remove the underlay with a putty knife.
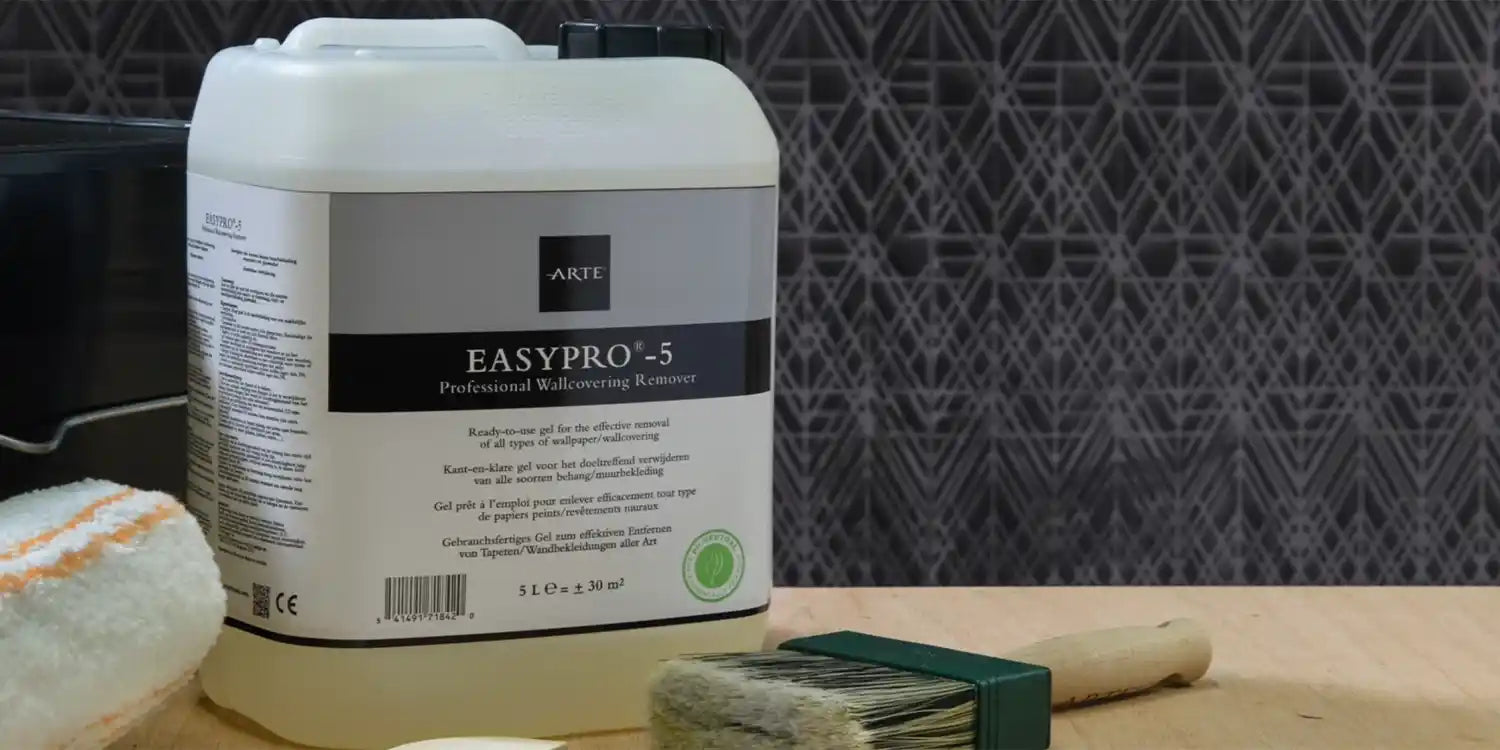
Recommendation: Arte Easypro
To make wallpaper removal even easier, we recommend using Arte Easypro . This product has been specially developed for removing all types of wallpaper and ensures that the wallpaper comes off the wall more easily.
Follow the steps below to use Arte Easypro:
- Mix Arte Easypro with water according to the instructions on the packaging.
- Apply the mixture to the wallpaper with a sponge or roller.
- Allow the mixture to act according to the recommended time on the packaging. This ensures that the wallpaper comes off properly.
- Use a putty knife to carefully remove the wallpaper from the wall.
Step 4: Clean and prepare the wall
After removing the wallpaper, it is important to thoroughly clean the wall and prepare it for the new wall covering:
- Remove any remaining adhesive residue with a putty knife or damp sponge.
- Fill any holes and cracks with a suitable filler.
- Sand the wall lightly to create an even surface.
- Remove dust from the wall with a damp cloth or vacuum cleaner.
- Allow the wall to dry completely before you start applying the new wall covering.
Conclusion
Removing wallpaper can be a challenging job, but with the right preparation, techniques and tools, it becomes a lot easier. By following this step-by-step guide and using Arte Easypro you can efficiently and safely remove your old wallpaper and prepare the wall for a new wall covering. This way you can give your space a fresh, new look in no time.