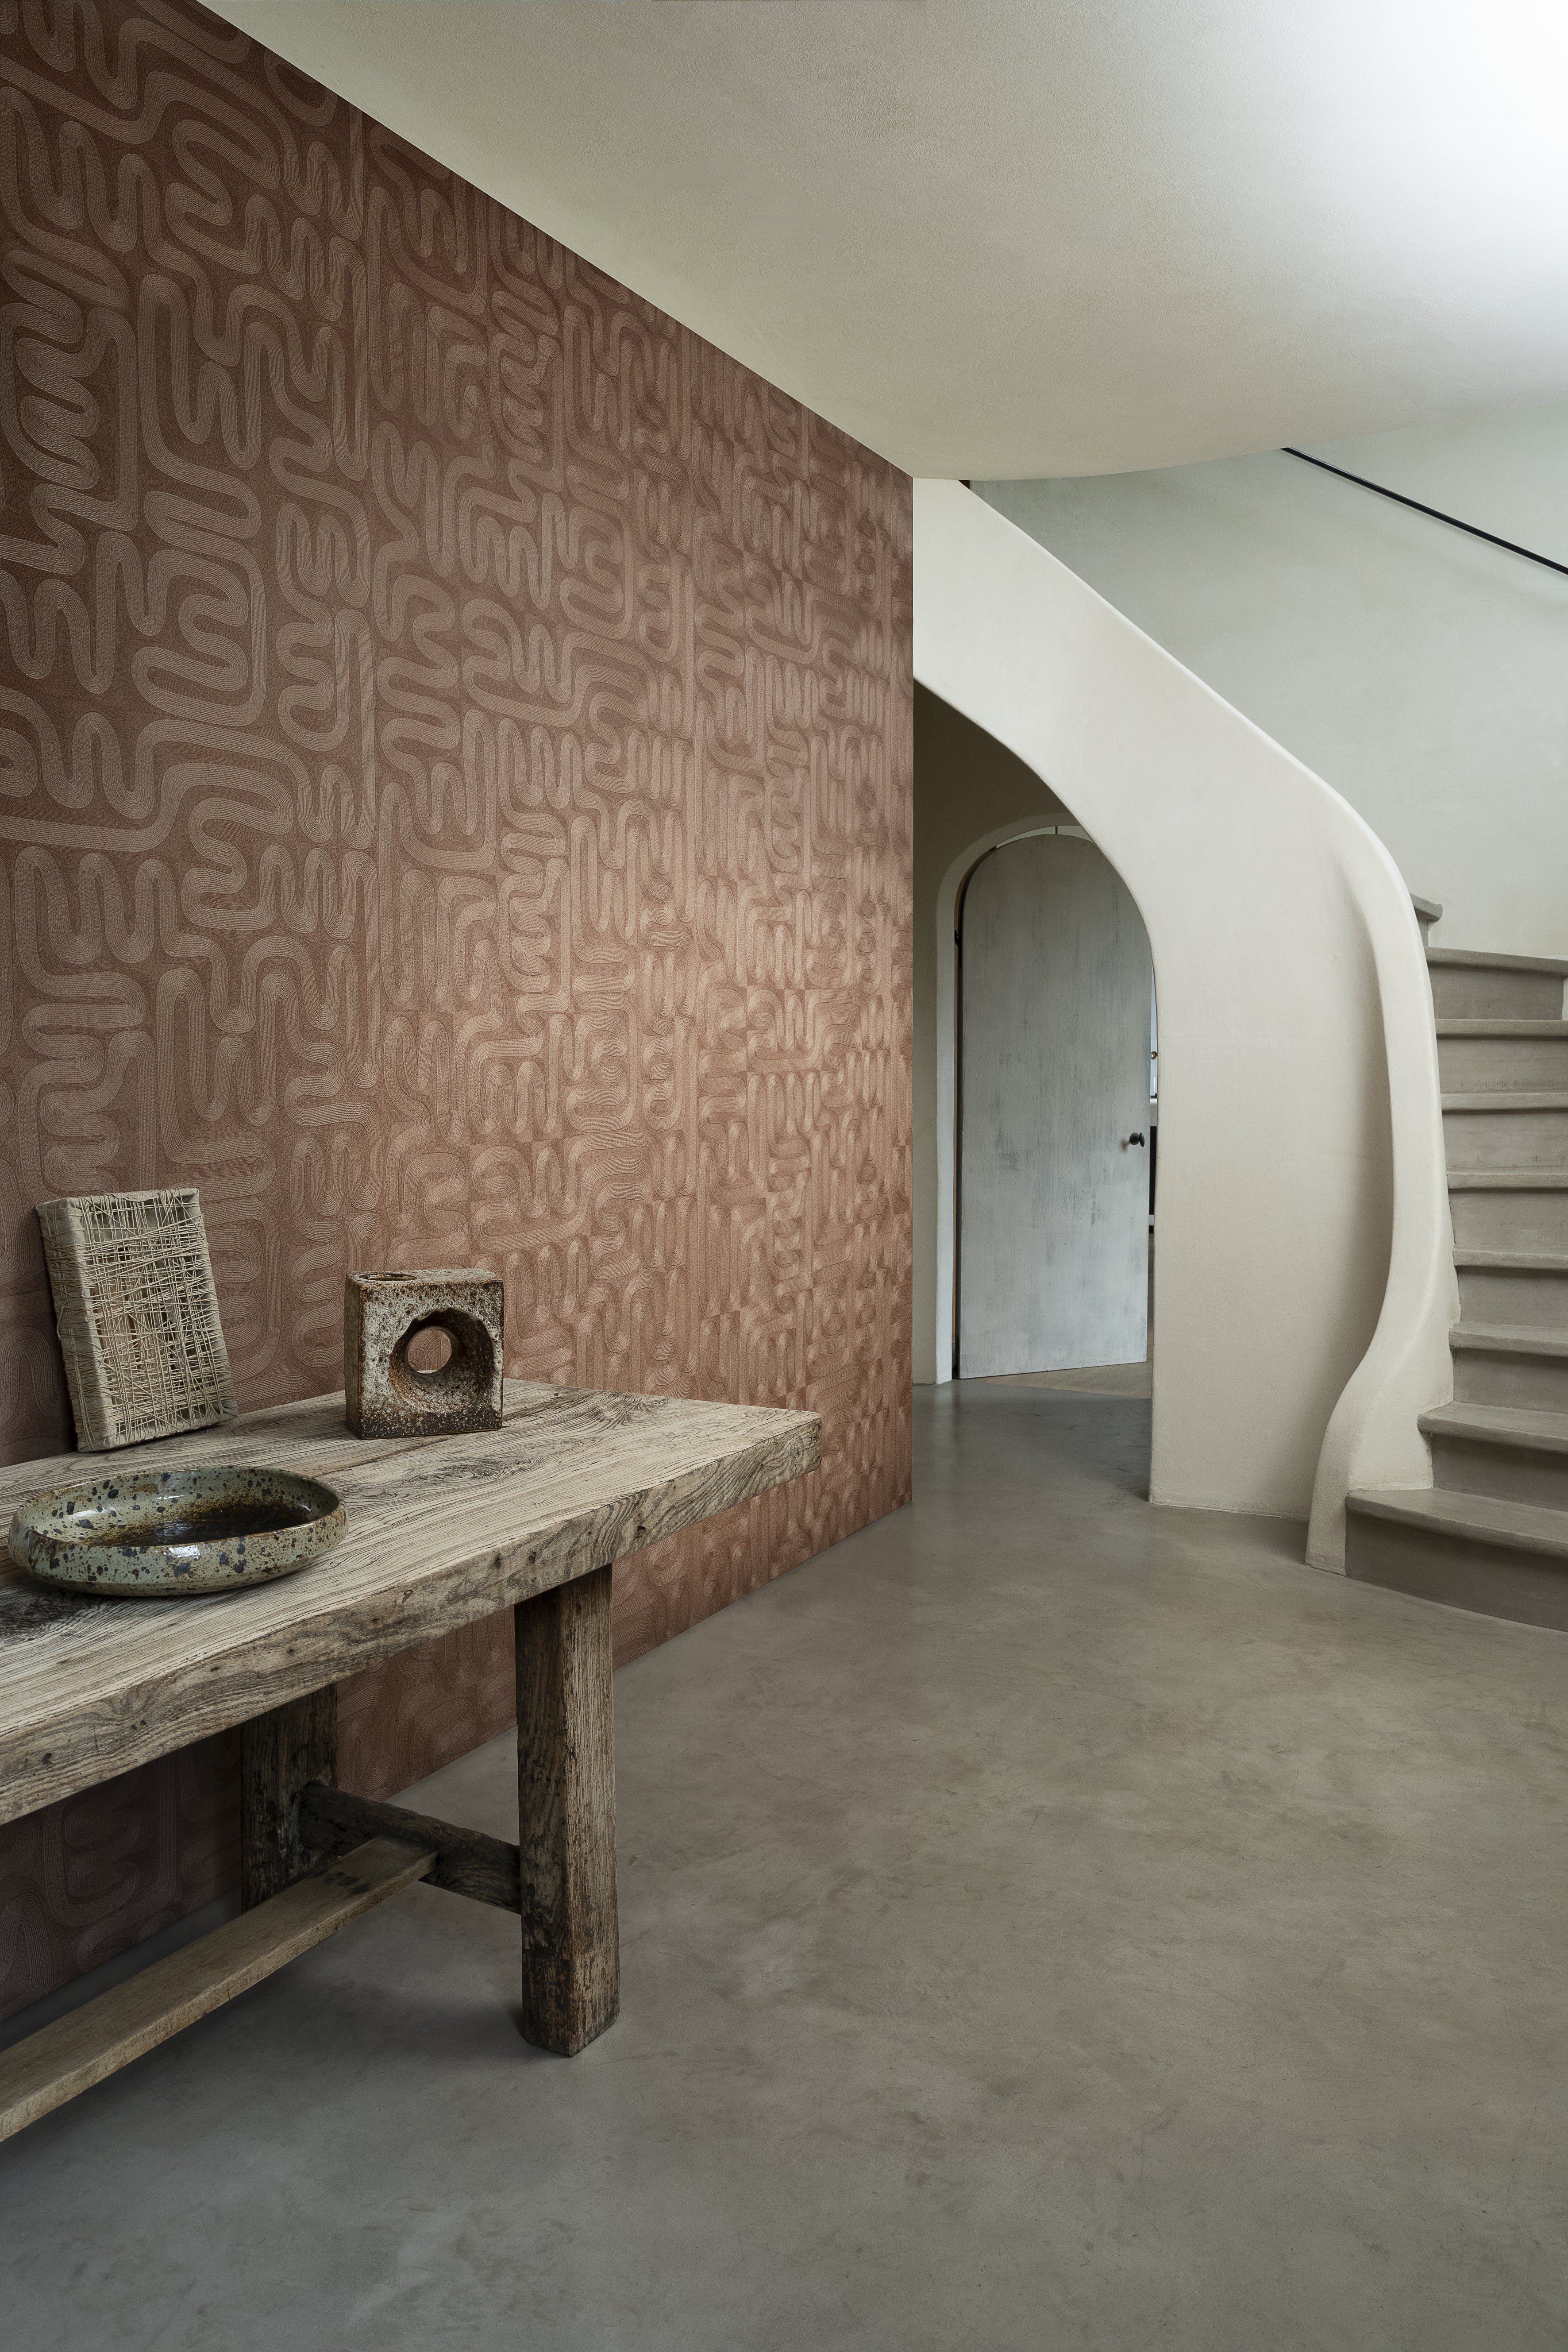
With photo wallpaper you give a room a new look in a single day. In this guide you learn step by step how to hang photo wallpaper on an even wall, including tips for seamless pasting, tricky corners and preventing air bubbles. Behang.nl supplies custom photo wallpaper on 220 g/m² non-woven wallpaper and handy tools, ideal for hanging wallpaper without problems. New to this material? First read What is photo wallpaper?
What do you need?
Good preparation starts with the right tools and the right glue. With the Premium wallpaper kit from Behang.nl you have the basics covered. Also take a look at our wallpaper tools (paste spatula, seam roller, cutting ruler).
- Wallpaper glue for photo wallpaper (suitable for non-woven wallpaper or as per the product instructions)
- Wallpaper spatula or pressure roller, and a soft brush
- Spirit level or laser, pencil and ruler
- Sharp snap-off knife and a cutting ruler
- Smoothing spatula for corners and seams
- Bucket and stirring stick, or glue roller and paint tray
- Filler and sandpaper (P120-P180)
- Glue syringe and a fine needle for corrections
- Clean, slightly damp cloth for glue residue
Preparing the wall surface
A tight, sturdy wall surface is the basis for hanging seamless photo wallpaper. Make sure the wall is dry, flat, clean and evenly absorbent.
Filling and sanding
Fill holes and small cracks with a fine wall filler. Once dry, sand it flat and dust-free. You will see imperfections straight through photo wallpaper, especially with plain or light prints.
Degreasing and removing dust
Remove dust and grease with a suitable cleaner. Old paint layers that powder or chalk must be fixed or removed.
Applying a sealer
If the wall is highly absorbent or freshly plastered, apply a sealer according to the instructions. This gives better adhesion, even drying and reduces the chance of seams and shrinkage.
Evening out the color
With big color contrasts on the wall or with very light photo wallpaper, you can first lightly whitewash the wall. That prevents dark spots or filler patches from showing through.
We advise against hanging on existing wallpaper or textured walls. Remove old wallpaper and make the wall flat for the best result.
Step-by-step plan: pasting photo wallpaper on standard walls
1. Determine your starting point and mark guide lines
Lay the strips on the floor in order and check the image. Draw a perfectly straight plumb line where the first strip goes, using a spirit level or laser. With photo wallpaper you usually work from the middle to the left and right for a symmetrical result.
2. Apply the glue
With non-woven wallpaper you apply the glue to the wall. Work the width of a strip plus 5-10 cm extra. Use a roller for an even layer: not too sparing, not too wet. Always follow the instructions that come with your photo wallpaper and glue. Read more in What is non-woven wallpaper (and how do you hang it)?
3. Paste and align the first strip
Hold the strip at the top with a small overlap onto the ceiling or baseboard. Align the side of the strip exactly with the guide line. Smooth from the middle outward with a spatula or brush.
4. Paste adjoining strips butted together
Join strips tightly butted together, so without overlap. Make sure the image runs on perfectly and avoid tension by not pulling on the strip. Work with two people to check the pattern and seams.
5. Cutting and cleaning
Trim excess wallpaper along the ceiling, window frames and baseboard with a new, razor-sharp knife. Immediately remove visible glue residue with a slightly damp, clean cloth.
Around corners, windows, doors and outlets
Corners
Never paste a whole strip around an inside corner. Paste up to 1-2 cm into the corner, cut straight, mark a new plumb line on the next wall and start with a narrow strip. That keeps your image straight and prevents lifting edges.
Windows and doors
Paste over the frame and cut the wallpaper crosswise from the middle of the frame. Trim the edges tight along a cutting ruler. Check that the pattern runs on neatly around uprights and sills.
Outlets and switches
Turn off the power. Remove the cover plates. Paste the wallpaper over the opening and cut from the middle toward the edges. Work calmly and precisely, then put the plates back.
Preventing and fixing air bubbles, seams and shrinkage
Preventing
- Acclimatize strips and glue in the room: lay the rolls flat 12-24 hours beforehand.
- Hang wallpaper at 18-22 °C, without drafts or direct sunlight.
- Use enough glue and apply it evenly, especially at edges and seams.
- Seal the wall surface on absorbent walls to prevent uneven drying.
Fixing
Press small air bubbles out with a soft spatula. If a bubble stays, prick it very finely with a needle and press the air out. If needed, add a drop of glue with a glue syringe. For seams that are open: carefully lift the edge, add glue and smooth it down tight. If seams appear because of shrinkage, check for a wall surface that is too dry or too absorbent and adjust your conditions for the next strips.
Special materials and variants
Unsure about the right type? Take a look at the overview of wallpaper materials for differences and uses.
Hanging photo non-woven wallpaper
This is the standard method in this guide: glue on the wall, strips butted together, drying in stable conditions.
Hanging vinyl photo wallpaper
Use glue that is suitable for vinyl on non-woven. Vinyl is heavier: work with a little more glue and press the seams down extra well.
Hanging self-adhesive photo wallpaper
Paste dry onto a wall free of dust and grease. Peel off the backing step by step, work from top to bottom and smooth the air out. Repositionable material can be carefully re-laid.
Hanging Airtex wallpaper: seamless photo wallpaper
Airtex photo wallpaper often consists of one large sheet. For truly seamless photo wallpaper, a mirror-smooth, primed wall is crucial. Apply the recommended high-tack glue evenly with a roller, position it with two people and work the air out with a wide spatula. Trim tight all around.
Conditions and drying time
Hang wallpaper at 18-22 °C with normal humidity. Avoid drafts, open windows and bright sun during and after pasting. Set underfloor heating low or off. Let the wallpaper dry calmly and allow 24-48 hours. Ventilate lightly without drafts and touch the seams as little as possible during that period. Consistent conditions reduce the chance of seams and shrinkage lines.
Frequently asked questions
Is hanging photo wallpaper difficult?
With a flat, well-prepared wall and the right tools, hanging photo wallpaper is perfectly doable yourself. It takes precise alignment, enough glue and calm work strip by strip. Tricky parts such as corners, outlets and windows take time, but with guide lines and a sharp knife you get a tight result.
Which wall surface is best for photo wallpaper?
A dry, flat, clean and evenly absorbent wall. Seal new or highly absorbent walls. Avoid texture, loose paint and big color contrasts. Photo wallpaper adheres poorly on existing wallpaper, tiles or glass: make the wall flat or choose a special system.
Can photo wallpaper go on any wall?
Not every wall is suitable straight away. Absorbent or powdery walls need a sealer, absorbent plasterboard needs a primer, and uneven walls must be leveled. In bathrooms and outdoors, conditions are often too damp or changeable. For doors, furniture or boards it can work: degrease, prime and watch for warping on thin panels.
What if I want to have photo wallpaper hung for me?
Behang.nl supplies custom photo wallpaper, glue and tools, plus clear instruction videos for hanging wallpaper. We don't offer a hanging service ourselves. If you want to outsource it, choose an experienced wallpaper hanger with photo wallpaper experience and share the product instructions and wall type beforehand.
Get started
Ready to start hanging photo wallpaper? Gather your tools, prepare the wall carefully and work step by step. With our 220 g/m² non-woven wallpaper, the right glue and the Premium wallpaper kit, you turn any wall into a tight, eye-catching feature.